Ever looked up and thought your downlights were auditioning for a horror movie? Between the dust, grime, and occasional flicker, they might as well be sending Morse code for “clean me.” If your living room is starting to feel more like a haunted house or an impromptu rave, it’s time to take action.
Keeping your downlights in tip-top condition isn’t just about impressing your nosy guests—it’s about safety and longevity. Clean downlights stay bright, last longer, and, most importantly, don’t set your house on fire.
This guide will cover everything you need to know about downlight maintenance. From the right tools to use to how to avoid electrocution, let’s make sure your lights don’t look like they belong in a haunted house.
Gathering Your Cleaning Supplies
Now that you’ve accepted that fire-rated downlights don’t clean themselves, it’s time to assemble your cleaning arsenal. Don’t worry—you won’t need a hazmat suit or a power washer. Just the following will do:
- Microfibre Cloths. These are the best cleaners for downlights because they trap dust without leaving lint behind. And no, your old T-shirt won’t do.
- Warm Water. Simple but effective, just like tea (but don’t drink it).
- Mild Detergent. Something gentle, like Fairy Liquid, will do the trick. No bleach unless you want to give your lights an early retirement.
- Bucket or Basin. Because spilling water all over your floor is not the kind of drama we’re after.
- Ladder or Step Stool. Don’t be that person who balances on a wobbly chair. The hospital trip isn’t worth it.
- Screwdriver. Some downlights require a bit of unscrewing to remove. If you don’t have one, consider borrowing or, you know, finally buying one like a proper adult.
- Cotton Buds/Q-Tips. Perfect for getting into those awkward nooks (and not just for your ears!).
- Gloves (optional). Keep your hands clean unless you enjoy the “mystery gunk” experience.
- Eye Protection (optional). In case you’re worried about dust falling into your eyes. Or if you want to look extra serious about your cleaning skills.
Safety First!
Next, let’s talk about safety. In the UK, electrical safety regulations require that electrical fixtures be maintained or cleaned with the power off. So, let’s cut the electricity before you start poking around. Electricity is no joke; getting zapped while cleaning should not be on your agenda.
Key Safety Tips
- Turn off the power. Not just the switch; go to your fuse box and shut it off at the circuit breaker. Trust me, you don’t want to test your superhero abilities today.
- Double-check if the power is off. A non-contact voltage tester (like the Kewtech KEWSTICK) can confirm if electricity is still flowing.
- Never spray water directly onto downlights. Unless you’re aiming for an impromptu fireworks display.
- Make sure your hands and tools are dry. Electricity and water are like cats and cucumbers—they don’t mix well.

Cleaning Different Types of Downlights
Different types of downlights require different cleaning methods. Here’s how to handle each type:
Cleaning LED Downlights
LED downlights are energy-efficient and long-lasting. Knowing how to clean recessed lights can ensure they stay bright and don’t start sulking.
- Turn off the power.
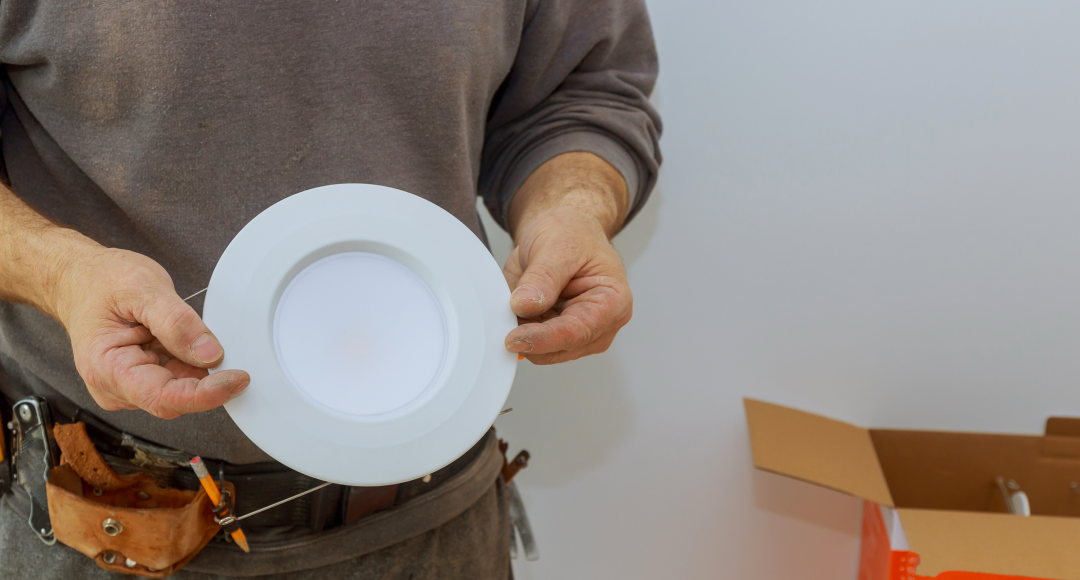
- If removable, gently twist or unscrew the downlight from the ceiling.
- Wipe with a damp microfibre cloth. No need to drown it.
- Dry completely before reinstalling.
- Turn the power back on and admire your work (or pretend you’re an electrician).
Cleaning Halogen Downlights
Unlike LED filament bulbs, halogen ones get HOT. If you’ve ever accidentally touched one, you’ll know what pain feels like.
- Turn off the power and let the bulb cool down (seriously, don’t skip this step unless you enjoy blistered fingers).
- Remove the downlight if possible.
- Use a dry or slightly damp piece of cloth if needed. Nothing soaking wet, please.
- Dry it thoroughly before reinstalling.
Cleaning Incandescent Downlights
Incandescent downlights are a dying breed, but if you have them, here’s what to do:
- Turn off the power.
- Let the bulb cool down.
- Wipe them with a damp cloth; they collect dust like they would in an old attic.
- Dry thoroughly before reinstalling.
Cleaning Downlights Without Removing Them
Some downlights just won’t budge. Here’s how to clean downlights without removing them:
- Get a dry microfibre cloth to remove dust.
- Use a cotton bud to clean around the edges.
- If needed, lightly dampen the cloth. But don’t soak it; you’re cleaning a light, not giving it a bath.
- Wipe the surface gently and let it dry.
Maintaining Your Downlights
Cleaning is great, but if you really want your home or bathroom downlights to stay pristine, a little maintenance goes a long way. You wouldn’t wash your car and then forget to check the oil, right? (Maybe you probably would, but let’s not discuss that here.) Anyway, here are a few steps to follow:
How to Change a Downlight Bulb
Eventually, your dimmable downlight bulbs will need replacing. Here’s how to do it safely:
- Turn off the power.
- Let the bulb cool down (unless you enjoy burning your fingertips).
- Remove the old bulb and replace it with a new one (check if it’s LED, halogen, or incandescent—don’t just guess!).
- Dispose of old bulbs properly. LEDs can be recycled, while some halogen bulbs need special disposal.
Inspecting Connections
Loose wiring can cause flickering lights or even a fire. Check connections by:
- Turning off the power.
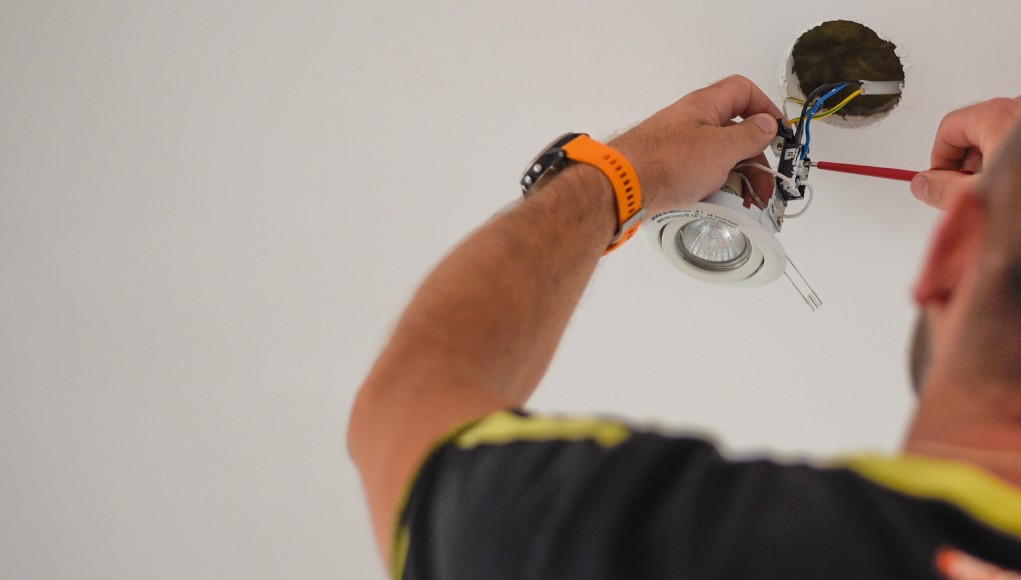
- Gently removing the downlight and inspecting for loose wires.
- Tightening connections if needed.
- Calling an electrician if you spot damaged wires (don’t DIY this unless you fancy a shocking experience).
Preventing Dust Build-Up
To reduce dust on your downlights:
- Clean regularly (every few months, not once a decade).
- Use an air purifier to deal with airborne dust.
- Consider installing a dust cover (if you enjoy extra protection).
Troubleshooting Common Problems
Even with regular downlight cleaning and maintenance, your bulbs can still throw the occasional tantrum. Here’s how to diagnose some of these issues:
Flickering Downlights
- Could be a loose connection—check wiring.
- Might be a faulty transformer—replace it.
- Could be incompatible dimmers—get LED-compatible ones and stop living dangerously.
Buzzing Downlights
- Often caused by incompatible dimmers—swap them out.
- Could be a dodgy bulb—try a new one before you panic.
Downlights Not Working
- Check if the power is actually on (yes, really!).
- Try replacing the bulb.
- Inspect the wiring—call an electrician if needed.
Frequently Asked Questions
How often should I clean my downlights?
Every 3 to 6 months unless you enjoy dim, dusty lighting.
Can I use glass cleaner on downlights?
No. Stick to mild detergents unless you want streaky disasters.
Why are my LED downlights flickering?
Probably due to a loose connection or incompatible dimmer.
Can I replace a halogen bulb with an LED?
Yes, but check compatibility first.
Are downlights expensive to run?
LEDs are cheap, halogens are not. Switch to LEDs if you enjoy saving money.
Keep Your Downlights Shining
A little effort keeps your downlights bright, functional, and tantrum-free. No one wants guests mistaking their home for a haunted house just because the lights are flickering.
Need an upgrade? Simple Lighting has everything from energy-efficient LEDs to stylish replacements. Visit our website right now to see our products!


