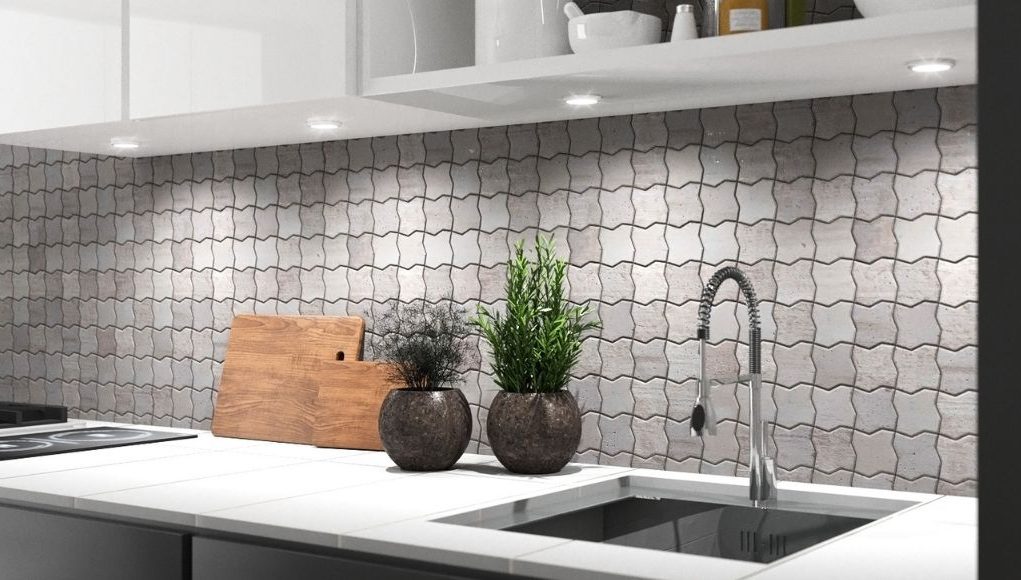
Having under-cabinet lighting can elevate the aesthetics and functionality of the space. It’s particularly useful in the kitchen, making meal preparations, cleaning, cooking, and organising more effortless and efficient!
There are many types of under-cabinet lighting that you can utilise throughout the kitchen and other parts of your home. Puck lights, strip lights, and bar lights are some of the most popular and straightforward to install!
Choosing the Right Under Cabinet Light
Which LED under-cabinet light is suitable for the application you are after? What aspects do you need to consider?
As mentioned, there are three primary types of under-cabinet lights: puck lights, strip lights, and bar lights. Here’s how they differ:
Puck Lights
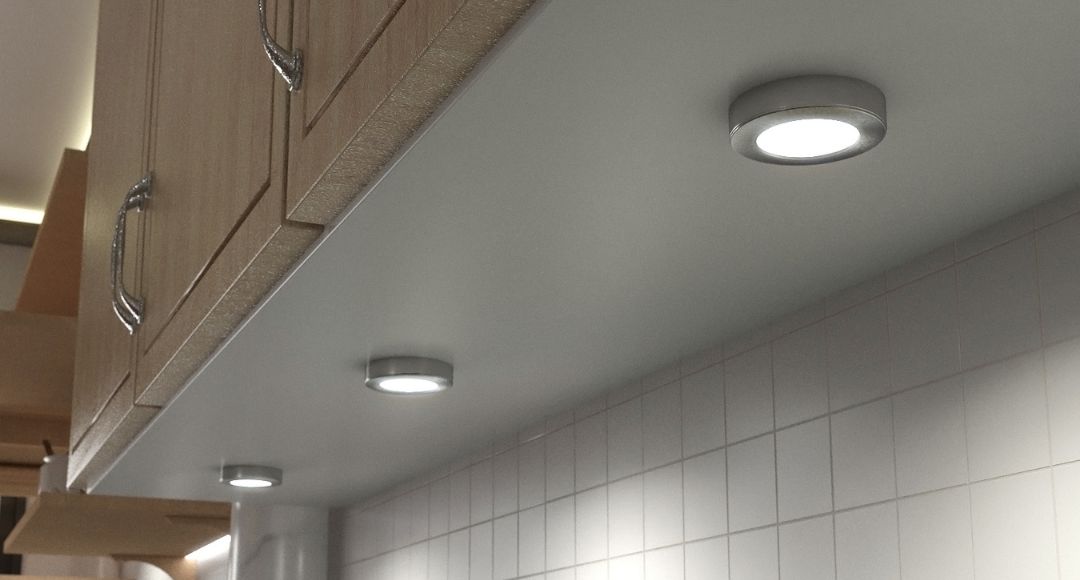
They are installed individually, come in various sizes, shapes, and finishes, can be battery-operated or mains-powered, and may have an adhesive backing, be surface-mounted, or be recessed. For renters, this is an excellent option because they choose a battery-operated, surface-mounted puck light and avoid making holes in the wall or cabinetry.
Strip Lights
These are ribbon-like circuit boards available in different assortments. Strip lights have an adhesive backing and can be wired directly to the mains circuit, or you can add a plug at the end of the LED driver and plug it into an empty socket.
Bar Lights
These are long, slender tubes that can be linked together and are available at various lengths, colour temperatures, etc. Bar lights are ideal for homeowners or renters with a more flexible contract. Some bar lights would have an adhesive, but most come with screws and fixing brackets.
After determining which type you’ll choose, it’s time to examine the technical aspects more closely. What factors should you consider?
- Lumens (Brightness)—The higher the lumens count, the brighter the fixture. However, it’s not always the brighter, the better! Think of the fitting’s purpose. Yes, it needs a high lumen count for more clarity as task lighting. Alternatively, if it’s for ambient lighting, it can be a bit lower.
- Colour Temperature—You should know three primary colour temperatures: cool white, natural white, and warm white. Cool white and natural white are excellent for task lighting, whereas warm white is perfect for ambient lighting. Again, determine the purpose to pick the most suitable.
- Dimmability – There are dimmable and non-dimmable under cabinet lights. While there’s nothing wrong with choosing a non-dimmable option, there are more advantages to using a dimmable one. A dimmable under-cabinet fitting allows you to customise the brightness level to suit your requirements. Bright for doing chores and clean-up and dim when resting and socialising. In addition, dimmable cabinet lights are more energy-efficient and long-lasting.
- Power Source—You can find battery-operated, low-voltage, or mains-powered under-cabinet lights. Battery-operated lights are ideal for renters, while mains-powered and low-voltage under-cabinet lights are suitable for homeowners. Nevertheless, it’s still up to you to decide whether or not the method of powering the fixture is ideal for your space’s electrical system.
Tools and Materials Needed
Prepare these materials beforehand so the procedure will be smooth sailing when you begin.
- Drill
- Wire Stripper
- Screwdriver
- Drywall Saw
- Lineman’s Pliers
- Mounting Brackets and Screws
- Under Cabinet Light
Step-by-Step Installation for Different Types of Under Cabinet Lights
While this guide may provide a general idea of how the process will be based on the type of cabinet light you have, each model will still have its specific mounting instructions. You should still read them to guarantee a high-quality and optimal installation!
Installing LED Strip Lights
- Prepare the surface by wiping it with a clean cloth.
- Measure and cut the strip lights to the required sizes. Ensure that you cut within the markings.
- Peel the adhesive backing of the strip lights and stick it to your prepared surface.
- Wire the strip lights to a power source.
Installing LED Puck Lights
- Mark the position of the puck lights.
- If the puck lights are recessed, drill a cut-out hole.
- Insert the recessed puck light into the hole. If it is surface-mounted, affix the puck lights to the cabinet.
- Connect the puck lights to a power source.
Installing Bar Lights
- Mark the placement of the bar lights. Link the bars together if necessary.
- Attach the mounting brackets and clips to the cabinet.
- Mount the bar lights.
- Link the bar lights to a power source.
Wiring and Power Connection
There are several ways to power your under-cabinet lights. Here are some things you should know!
Direct Wiring vs. Plug-In
Connecting the lights straight to the mains circuit requires more advanced electrical skills. However, when done correctly, it’ll give you a clean and seamless look. With the direct wiring method, you can use a wall switch to manage your under-cabinet fittings.
Plug-in is adding a plug at the end of the cabinet light (mains-powered) or LED driver (low-voltage) and plugging it into an empty socket. This is simpler, but you have to deal with an exposed wire and plug, and there should be a nearby socket.
Using a Transformer or Driver
When do you need to use a transformer or LED driver? You must use either of the two when your under-cabinet lights are low-voltage. Low-voltage cabinet lighting cannot be directly wired to the primary circuit. A driver or transformer regulates the power from the primary power supply and distributes it to the low-voltage lighting.
Conclusion
Which type of LED under-cabinet light are you interested in trying? Whatever you choose, you’ll indeed have a pleasant experience because it will enhance your space’s practicality and visual appeal! You can use the installation process as a guide but still review the fixture’s specific instructions.
If you need help getting premium-grade LED under-cabinet lights, visit our website, Simple Lighting! We have an extensive collection that includes strip lights, surface-mounted and recessed cabinet lights, and more!


