


Ever walked into a room and felt like you entered the Batcave or got abducted by aliens? That’s terrible downlight placement for you. Too few lights, and you’re squinting like a mole; too many, and you’ll have to wear sunglasses indoors.
The key is balance. If you don’t calculate downlight spacing correctly, you’ll end up with shadows and glare in all the wrong places. Downlight placement isn’t just about aesthetics—it’s about functionality, ensuring even distribution of lights while avoiding dark spots and excessive brightness.
By the end of this guide, you’ll know exactly how to calculate downlight spacing and position your fixtures for a stylish, well-lit space.
Understanding Downlights and Their Benefits
Downlights provide a sleek, modern look while being highly practical and energy efficient. There are two main types:
- Recessed downlights. These are typically installed within the ceiling, offering a clean, minimal look. Ideal for living rooms, bedrooms, and bathrooms.
- Surface-mounted downlights. These are fixed onto the ceiling surface, perfect for spaces where recessing isn’t an option (like concrete ceilings).
Why Choose Downlights?
- Space-saving. Since they’re built into the ceiling, they don’t intrude on your decor.
- Energy-efficient. Many LED downlights consume less energy than traditional bulbs.
- Versatile. They work well for general lighting, task lighting, and accent lighting.
Factors to Consider Before Planning Placement
Good lighting is all about strategy; certain key factors can make all the difference.
Room Size & Ceiling Height
Bigger rooms need more downlights, while higher ceilings require a wider beam angle to ensure even coverage. Ignore this, and you’ll either have a gloomy cave or a ceiling packed with unnecessary fixtures.
Purpose of Lighting
Think about what the room is used for. General lighting brightens the entire space, task lighting focuses on work areas, and accent lighting highlights decor. A clever mix of these ensures both function and style.
Brightness & Beam Angle
More lumens mean brighter light. Narrow beams (20° to 40°) create focused light, while wider beams (60° or more) distribute it more evenly. The right combination prevents glare and unwanted shadows.
Colour Temperature
LED colour/colour temperature influences mood. Warm white (2700K to 3000K) is cosy, perfect for bedrooms and living rooms. Cool white (4000K to 5000K) is crisp and energising, ideal for kitchens and bathrooms. Mixing these in the same space can look odd, so keep it consistent.
Step-by-Step Guide to Planning Downlight Placement
Proper downlight placement is key to a balanced, functional lighting design. Take the time to calculate downlight spacing before installation to avoid uneven brightness and dark spots.
Step 1: Map Out Your Space
Sketch a rough layout of the room, noting key areas that need lighting. Factor in furniture, walkways, and focal points to prevent poor placement (that leads to dark spots or glare).
Step 2: Determine the Number of Downlights
A simple rule—space downlights apart by half the ceiling height (e.g., an 8 ft ceiling means 4 ft spacing). Too close, and you get an over-bright, sterile feel; too far apart, and you’ll have annoying shadows.
Step 3: Decide on Positioning
Keep downlights at least 2 feet from walls to prevent harsh reflections. This makes sure they provide helpful illumination in work or seating areas rather than casting distracting shadows.
Step 4: Choose the Right Beam Angle
As mentioned above, a wider beam is excellent for general lighting. Meanwhile, a narrower beam enhances task or accent lighting. Mixing beam angles adds depth and a stylish look.
Step 5: Factor in Dimmers
Installing dimmable downlights allows you to control brightness levels. Perfect for switching between bright task lighting and a softer ambience for relaxation.
Room-by-Room Downlight Placement Tips
Every room has different lighting needs. A well-planned downlight layout ensures each space is functional and inviting.
Living Room
Use a mix of fire-rated downlights and lamps for warmth and depth. Dimmable lights allow you to shift between bright settings for entertaining and softer lighting for relaxation. Accent downlights can highlight artwork or feature walls.
Kitchen
A well-planned kitchen downlight layout ensures adequate task lighting while maintaining a balanced ambience. Prioritise task lighting for food prep while keeping general brightness uniform. Avoid placing downlights directly over glossy surfaces to reduce glare. A mix of ceiling-mounted downlights and under-cabinet lighting works best.
Bedroom
A carefully designed bedroom downlight layout creates a comfortable and inviting atmosphere. A soft, warm glow is ideal for a relaxing vibe. Avoid placing downlights directly over the bed to prevent glare. Instead, position them around the room’s perimeter and complement them with bedside lamps or sconces for task lighting.
Bathroom
Thoughtful bathroom downlight placement enhances safety and functionality in wet areas. Opt for waterproof (IP65-rated) downlights, especially in wet zones. Position lights strategically to avoid harsh shadows—placing fixtures beside mirrors instead of directly above creates a more flattering bathroom downlight layout. A cool white temperature enhances visibility for grooming.
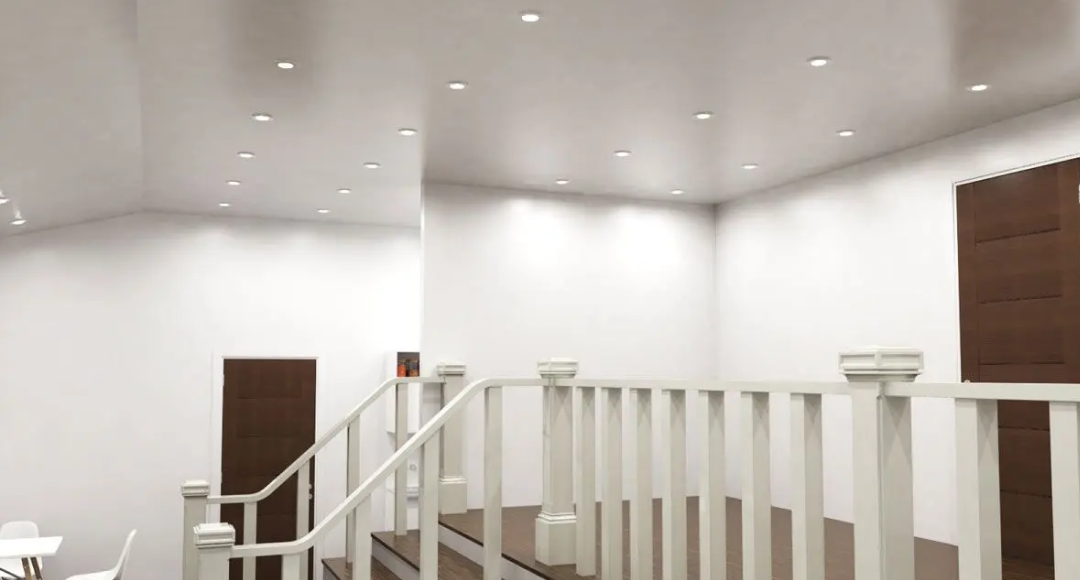
Hallways & Staircases
Evenly spaced downlights provide consistent lighting and improve safety. Consider motion sensors for convenience and energy efficiency. Placing lights close to walls creates a soft glow, adding depth to narrow spaces.
Common Mistakes to Avoid
Even with careful planning, lighting mistakes happen. Avoid these pitfalls to achieve a balanced, functional lighting setup.
Overcrowding the Ceiling
More lights don’t always mean better lighting. Too many downlights make a space feel clinical rather than cosy.
Incorrect Spacing
Poor placement leads to uneven illumination, creating dark patches or excessive glare. Stick to proper spacing guidelines to maintain a seamless look.
Mismatched Colour Temperatures
Mixing warm and cool lights in the same space creates an awkward, inconsistent look. Keep each room’s colour temperature uniform for a harmonious feel.
Forgetting Dimmers
Adjustable lighting is vital for creating the right ambience. Installing dimmable downlights lets you adapt brightness to different needs and times of day.

Conclusion
A well-thought-out downlight placement plan enhances your space, ensuring the perfect balance of function and ambience. By considering the tips and steps above, you can create a stunning lighting setup without overdoing it.
For high-quality downlights and expert lighting solutions, check out Simple Lighting. We offer a wide range of energy-efficient downlights designed to suit any space, helping you quickly achieve flawless lighting.


