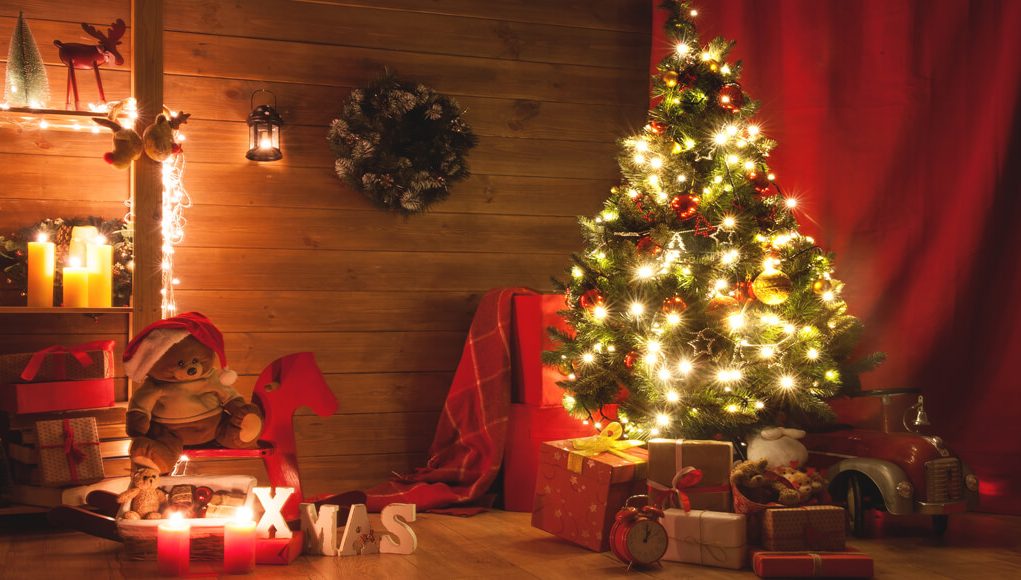
Once the summer breeze has completely dissolved, and all the autumn leaves have fallen off, the cool winter air will begin to set the stage for the most anticipated season of the year! Although it may still be months from now, soon, the nostalgic carols will start to play, and the heart-warming smell of roasted chestnuts will fill the air. In a blink of an eye, you’ll see the familiar scene of your family gathering around the Christmas tree while having a cup of hot chocolate (or something stronger). If you don’t want to be late for the holiday rush, it’s best if you start planning your attack. Your first order of business, grab a tree, put on some lights, and bake those gingerbread people!
Decorating your tree is a pleasant way of spending time with your family as you gear up for the Christmas season. Do you know if there’s a correct way of doing it? Don’t worry, if you’ve never had the slightest idea, you’re not alone! Many are also stuck with the tradition, hanging the ornaments, adding the lights, and finishing it off with a star, fairy or angel on top. Truthfully, there’s no right or wrong way of doing it since everyone has different styles, preferences, traditions, and ideas. If you want yours to look like those that you see brilliantly displayed in your town square, then you can try using the methods that they do. Professionals have their own tips and trick up their sleeves, so if you are curious about how they bring those trees to life, here is their advice.
How to add lights to your Christmas tree like a pro?
Tip #1: Find out how many lights you will need.
Christmas trees for the home usually go as high as 10ft and as low as those tabletop trees you see in stores. So, how many lights do you need for your tree? Well, that depends on the size of your tree, the bigger the tree the more you’ll need. A good rule of thumb is to use an average of 100 lights per foot in height of the tree. However, if your Christmas tree is especially wide or bushy, you can always add more as you see fit. If you want your tree to look impeccably bright and eye-catching, then go big and add more! Remember, Christmas only comes once a year!
Tip #2: Check the lights.
Before you start putting your lights on the tree, you need to check if every bulb is working. It’s going to be a total waste of time if you finish adding all the ornaments just to find out that all or some of the bulbs are not working. So, plug your lights in and make sure that none of the bulbs are busted – with old style Christmas tree lights you may find that they came with spare bulbs that you can use to replace broken ones, LED Christmas tree lights usually don’t come with spares. As you work, leave the lights on, so you’ll see if there are areas on your tree that look darker than others. This way, you’ll be able to even it out, and your tree will look sublime!

Tip #3: String your lights randomly.
When you string your lights, what do you usually do? You wrap it around the tree horizontally, right? Well, that’s actually the best way to do it, so just keep it up! Having the lights travel around your tree horizontally will help space out the illumination evenly. However, when you string them all aligned, straight, and in an orderly fashion, it’ll look a bit rigid. So, to make your lights look more natural and organic, it’s best if you weave them a little randomly. You can place some deeper within the branches while others are closer to the front. With this, your tree will have more depth and dimension.
Tip #4: Hide the connectors and wires deep within the tree.
It’s probably impossible to find Christmas tree lights that will be able to fill up a 10ft Christmas tree in one go. It’s more likely that you’ll be using multiple sets that you will either be able to connect together or will have to plug in independently. Well, these connections and wires are the bits that you don’t want to see dangling from your tree. So, hide connections deep within the branches and make sure that cables enter and leave the bottom of your tree at the back. If you randomly string your lights, it’ll be easier for you to hide those plugs at the back!
Tip #5: Secure your lights using a floral wire.
There will be an instance where you want to place your lights somewhere in your tree, but they won’t settle and stay in place. In this case, you can use some floral wire to secure them in place. Wrap it around the cord and the branch so you’ll be able to achieve the look you want. You can also do this to secure any loose cables at the back of the tree to the ‘trunk’ to prevent any accidents from happening.
Tip #6: Clip any branches that you find unattractive.
Artificial trees usually have some sort of system or arrangement when it comes to how the branches should look. Although there may be some that you’ll find unpleasant, it’s less likely that you’ll need to trim them as they’re usually made from wire that can be bent to suit. However, with real trees, this may be a common scenario. So, using some garden shears, you can cut those branches that are already dropping too much or look distracting and unpleasant. Just be careful because you most definitely do not want to end up with a bald tree!
Tip #7: Wrap your lights from bottom to top.
This is another method used by professionals. When adding lights to your tree, the goal is to make sure that everything is well-lit and that the ornaments will really shine. So, when you’re wrapping your lights, don’t circle around and around. Start from the bottom, go to the top, and then make your way back down. The best way to do this is by sectioning your tree into segments and stringing the lights by section. Starting from the bottom, weave the string of lights in and out from one branch to another, making your way to the top and back. Doing it this way will give your tree a three-dimensional look that will definitely stand out!

Although having a gorgeous tree is often enough to keep your Christmas spirit up, your room would feel even cosier and more reminiscent of Christmas’s past if you finish it off with good ambient lights. Imagine having a fabulous-looking tree paired with warm-coloured dimmable downlights! It’s the perfect holiday get-together set-up! So, if you want to ensure that you have the ideal ambience for when your relatives and friends gather, you can check out our website, Simple Lighting, and browse through our extensive collection of downlights, strip lights, and plinth lights!


